Mastering the process of replacing OEM golf shafts can enhance your game performance and extend club longevity. This guide offers a detailed, step-by-step approach to help golfers and club makers understand the ins and outs of shaft replacement, ensuring a seamless and effective upgrade. Whether you’re addressing damage or seeking improved swing dynamics, this comprehensive resource will walk you through every consideration and technique needed for a successful replacement.
Understanding OEM Golf Shafts
OEM (Original Equipment Manufacturer) golf shafts are specifically designed and fitted by the manufacturer for your club model, ensuring optimal performance and compatibility. These shafts are tailored to match the clubhead’s weight, flex, and hosel dimensions, providing consistent results. OEM shafts vary in material—steel or graphite—with steel offering durability and graphite reducing weight for faster swing speeds. Flex ratings (R, S, X) and tip diameters (.370 or .355) are critical specifications to match for proper fitting. Understanding these factors helps maintain the club’s intended performance. Always refer to the manufacturer’s guidelines to ensure compatibility and consistency when replacing or upgrading your shaft.
Why Replace Your OEM Golf Shafts?
Replacing your OEM golf shafts can significantly enhance your game performance and overall satisfaction. Over time, shafts may degrade due to wear and tear, affecting accuracy and distance. Custom shafts tailored to your swing dynamics can improve consistency and control. Additionally, upgrading to modern materials or flex profiles can optimize your performance. If a shaft is damaged, replacing it prevents further issues and restores your club’s integrity. Whether seeking better feel, increased distance, or addressing damage, shaft replacement is a cost-effective way to breathe new life into your clubs without buying new ones. This process empowers you to fine-tune your equipment for peak performance.
Identifying Your Current Shaft Specifications
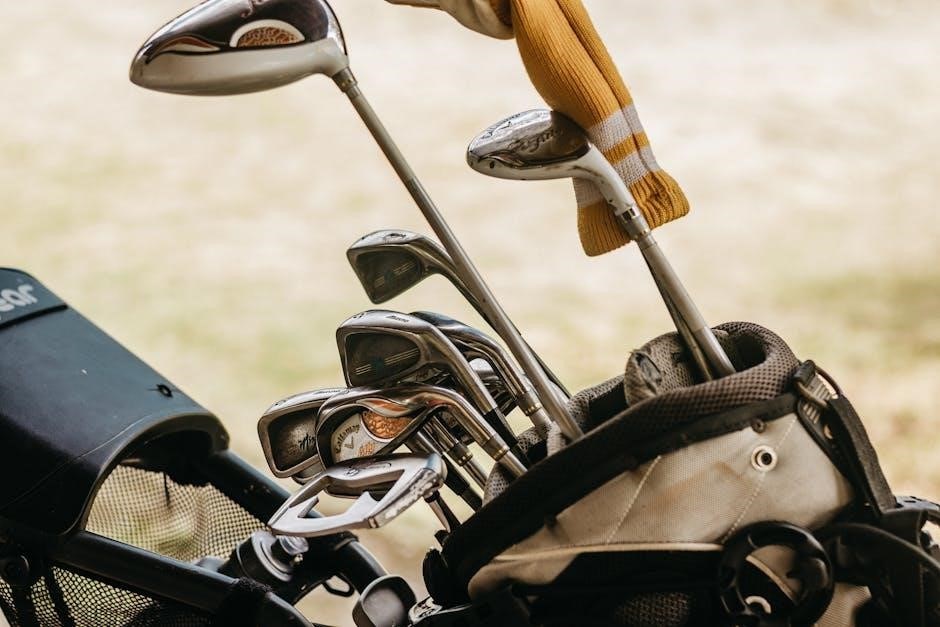
Understanding your shaft’s flex, weight, material, tip diameter, and hosel fit is crucial for selecting the right replacement. Accurate specs ensure compatibility and optimal performance.
How to Determine Shaft Flex and Weight
Determining the correct shaft flex and weight is essential for maintaining optimal performance. Shaft flex is typically categorized as Regular (R), Stiff (S), or Extra Stiff (X), and is determined by swing speed and tempo. Lighter shafts (60-70 grams) suit slower swings, while heavier shafts (80-100 grams) are better for faster swings; Use a swing weight scale or consult a professional fitter to measure your current shaft’s weight. Flex can be tested by bending the shaft or using a frequency analyzer. Match the new shaft’s flex and weight to your original specifications to ensure consistency. Proper alignment with your swing mechanics enhances accuracy, distance, and overall playability, making this step critical for a successful replacement.
Understanding Shaft Material Types (Steel vs. Graphite)
Golf shafts are primarily made of steel or graphite, each offering distinct advantages. Steel shafts are heavier, more durable, and provide a consistent feel, making them ideal for stronger players with faster swing speeds. They are often used in irons due to their precision and control. Graphite shafts, lighter and more flexible, reduce vibration and are better suited for players with slower swings or those seeking increased distance. Graphite is commonly used in drivers and fairway woods to maximize energy transfer and reduce fatigue. Choosing the right material depends on your swing dynamics, strength, and personal preference. Proper material selection ensures optimal performance and longevity of your golf clubs. Always match the shaft type to your playing style for the best results.
Measuring Tip Diameter and Hosel Fit
Accurate measurement of the shaft’s tip diameter and hosel fit is crucial for a proper replacement. The tip diameter must match the clubhead’s hosel to ensure a secure fit and prevent damage. Use a precision caliper to measure the shaft’s tip, typically ranging from .350″ to .370″. Compare this with the hosel’s internal diameter to confirm compatibility. A proper fit avoids issues like loose connections or damage to the clubhead. If the shaft is slightly smaller, reaming or using an adapter may be necessary. Always refer to manufacturer specifications to ensure accuracy, as incorrect sizing can lead to performance problems or equipment failure. Proper measurement guarantees a seamless installation and optimal club performance. This step is essential for achieving consistency and reliability in your game.
Tools and Materials Needed for Shaft Replacement
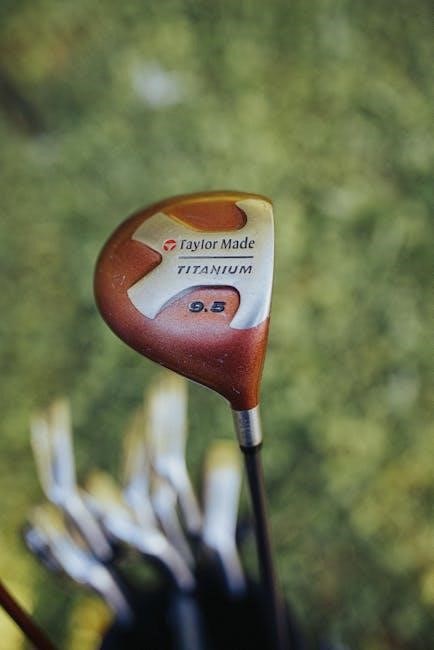
Essential tools include a heat gun, shaft puller, and epoxy. Materials like cleaning solvents and shaft clamps ensure a secure, damage-free installation; Proper tools guarantee precise fitment.

Essential Tools for the Replacement Process
Replacing a golf shaft requires specific tools to ensure a safe and precise process. A heat gun is crucial for softening the epoxy holding the shaft in place. Use a shaft puller to safely remove the old shaft without causing damage. An epoxy mixer and applicator are necessary for securing the new shaft properly; Additionally, a tip trimmer may be needed to adjust the shaft length to fit your clubhead. Other essential items include cleaning solvents to prepare the hosel and shaft clamps to hold the new shaft in place during installation; These tools ensure a professional-grade replacement, preventing damage and guaranteeing a secure fit. Always use high-quality materials and tools to maintain your club’s performance and longevity.
Recommended Materials for a Secure Fit
Ensuring a secure fit during shaft replacement requires the right materials. Epoxy resin is essential for bonding the new shaft to the clubhead, providing a strong and durable connection. Use a high-strength, fast-curing epoxy specifically designed for golf club repairs. Additionally, shafting epoxy or flexible shaft adhesive can enhance flexibility and reduce vibration. Cleaning solvents are necessary to remove old epoxy residue and prepare the hosel for a clean installation. For steel shafts, consider shaft butt diameter padding to ensure proper fit and alignment. Finally, apply a small amount of torque wrench grease to the shaft tip to prevent seizing during installation. These materials ensure a stable, long-lasting bond, maintaining your club’s performance and feel. Always follow manufacturer instructions for best results.
Safety Considerations and Precautions
Always wear protective gloves and goggles when handling sharp tools or chemicals. Use a heat gun cautiously to avoid burns. Ensure proper ventilation when applying epoxy or solvents. Secure clubheads firmly to prevent movement during shaft removal. Avoid over-tightening, as it may damage components. Follow all manufacturer guidelines for tools and materials to ensure safety and prevent equipment damage. Proper precautions protect both you and your golf clubs, ensuring a successful replacement process.
Precautions When Handling Golf Club Components
When handling golf club components, always prioritize caution to avoid damage or injury. Wear protective gloves and eyewear to safeguard against sharp edges or flying debris. Use heat guns carefully to prevent overheating, which can damage epoxy or clubhead materials. Secure the clubhead firmly in a vise to maintain control during shaft removal. Avoid applying excessive force, as it may bend or break components. Handle shafts by the butt end to prevent scratching or bending the tip. Never use abrasive materials that could damage the hosel or shaft surface. Keep loose clothing and long hair tied back to avoid accidents. Ensure all tools are clean and properly maintained to prevent slippage or improper fitting. Proper handling ensures a safe and successful replacement process.
Safety Best Practices for Shaft Removal and Installation
Adhering to safety best practices is crucial during shaft removal and installation to prevent accidents and ensure a successful outcome. Always use a heat gun on a low setting to soften epoxy, avoiding direct contact with the shaft or clubhead. Apply even, controlled torque when using shaft pullers to prevent sudden breaks or damage. Keep the work area clean and well-lit to minimize tripping hazards. Never inhale fumes from heated epoxy or solvents; work in a well-ventilated space. Use a shaft vise to securely hold the clubhead during removal, protecting both the component and yourself. When installing the new shaft, apply epoxy carefully, ensuring no excess drips onto other parts. Allow the epoxy to cure fully before testing the club. Following these practices ensures a safe and professional-grade replacement process.
Step-by-Step Shaft Replacement Process

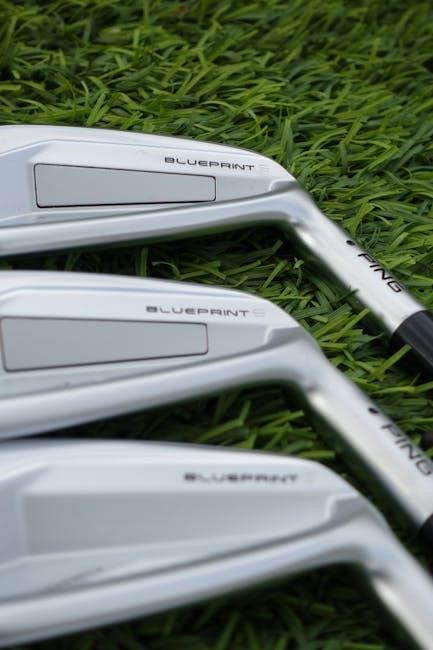
Begin by safely removing the old shaft using a heat gun and puller. Clean the hosel thoroughly, removing old epoxy residue. Apply new epoxy to the shaft tip, insert it into the hosel, and align properly. Allow the epoxy to cure fully before testing the club with a few swings to ensure stability and performance.
Removing the Old Shaft Safely
Removing the old shaft requires careful attention to avoid damage to the clubhead or hosel. Start by applying heat using a heat gun to soften the epoxy securing the shaft. Once the adhesive is pliable, use a shaft puller to gently pry the shaft free from the hosel. Work slowly and evenly to prevent twisting or bending the shaft, which could cause damage. If the shaft is particularly stubborn, consider using a shaft saver or adapter to protect the clubhead during removal. Avoid using excessive force, as this could harm the clubhead or hosel. Once the shaft is loose, carefully lift it out of the hosel and set it aside. Always wear gloves and safety glasses during this process to protect yourself from potential debris or sharp edges.
Cleaning and Preparing the Clubhead Hosel
Cleaning and preparing the clubhead hosel is a critical step before installing a new shaft. Start by removing any residual epoxy or debris from the hosel using a hosel reamer or a small, flathead screwdriver. Be careful not to scratch the interior of the hosel. Once the old adhesive is removed, use a solvent or cleaning solution to wipe away any remaining residue. Allow the hosel to dry completely before proceeding. Inspect the hosel for any damage or obstructions and address them if necessary. A clean, dry, and undamaged hosel ensures a proper fit for the new shaft and prevents potential installation issues. Proper preparation guarantees a secure and lasting bond between the shaft and the clubhead, ensuring optimal performance.
Installing the New Shaft
Installing the new shaft requires precision and care to ensure a proper fit and alignment. Begin by applying a thin, even layer of epoxy to the shaft’s tip, ensuring full coverage without excess. Carefully insert the shaft into the hosel, aligning it with the clubhead’s center. Use a shaft clamp to secure the shaft in place, preventing movement during the curing process. Allow the epoxy to dry completely, following the manufacturer’s recommended curing time, typically 24 hours. Once set, remove the clamp and inspect the shaft for proper alignment and seating. Ensure no epoxy residue remains around the hosel or shaft. Finally, test the club’s balance and flex to confirm the shaft is securely installed and functioning as intended. Proper installation ensures optimal performance and durability.

Testing the Club After Shaft Replacement
After installing the new shaft, thoroughly test the club to ensure proper performance and alignment. Start by checking the club’s balance and weight distribution. Take a few practice swings to gauge the feel and responsiveness of the shaft. Pay attention to any unusual vibrations or wobbling, which could indicate improper installation. Next, hit a few balls to assess distance, accuracy, and consistency. Compare the club’s performance to your expectations and other clubs in your set. Ensure the shaft flex and weight match your swing dynamics for optimal results. If any issues arise, such as inconsistent performance or poor feel, consider consulting a professional club fitter for adjustments. Proper testing ensures the shaft replacement enhances your game and meets your performance goals.